Grabbed some cheap-ass wood from B&Q and decided to exercise my woeful woodworking skills. I cut a hole for the monitor in what would become the table top. Used a jigsaw to do it and immediately wished I had access to a router. It probably didn't help that I was using MDF. That stuff is downright nasty!
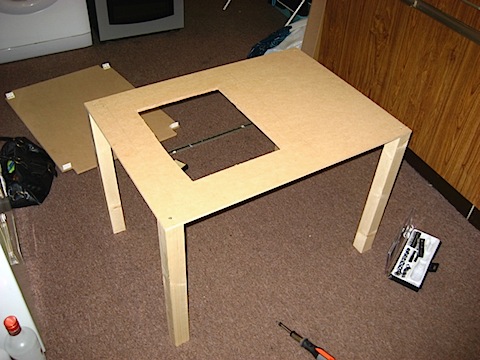
First the legs are attached to the table surface. The panel at the back with the white hinges is the base of the table.
Base is attached, now it's time to sand the hole for the monitor ... sand, test, sand, test ... repeat ad infinitum.

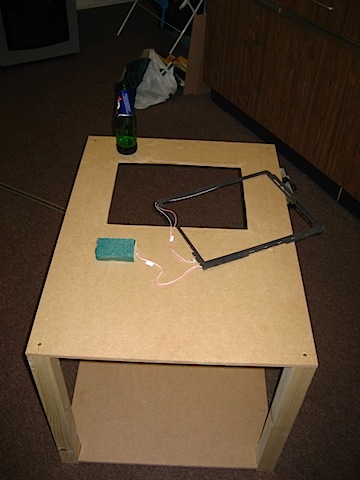
Monitor mounted. Cat is happy with the results and endorses the drinking of a celebratory beer.
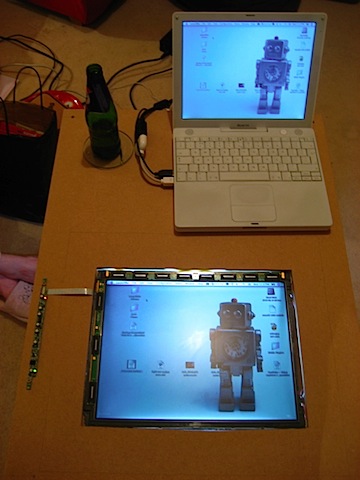
The monitor still works ... huzzah! Time for another celebratory beer. The panel to the left of the monitor contains the controls for the monitor. They're going to remain as they are for a nice lo-tech look. The pencil outline around the monitor shows where the acrylic will be placed. As you can see, there's plenty of space to scale up to a larger monitor ... *scours ebay for cheap 19" widescreen monitor*
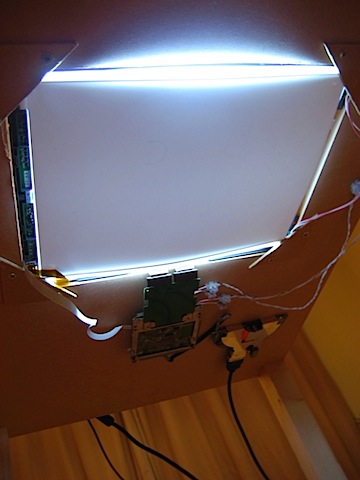
Underneath the table. The terminal blocks are there to extend the backlight cables. The corners are from a piece of hardboard and are used to hold the monitor components in place. Going to have to replace that white backing sheet as it blocks IR light. Tracing paper is candidate number one at the moment.